In Part 1 of this article we covered website performance. In this part we'll cover the metadata and content aspect of search engine optimization.
Metadata helps search engines better understand your website's content. It also helps social media platforms and apps create visual snippets of your content when it's shared. So, let's get started!
1. Title and description tags
Every page should have a title and description that are relevant to the content of the page.
<title>The page title goes here</title>
<meta name="description" content="A short snippet of the page content goes here.">
You can skip the keywords meta tag. It's ignored by search engines.
2. Open Graph meta tags
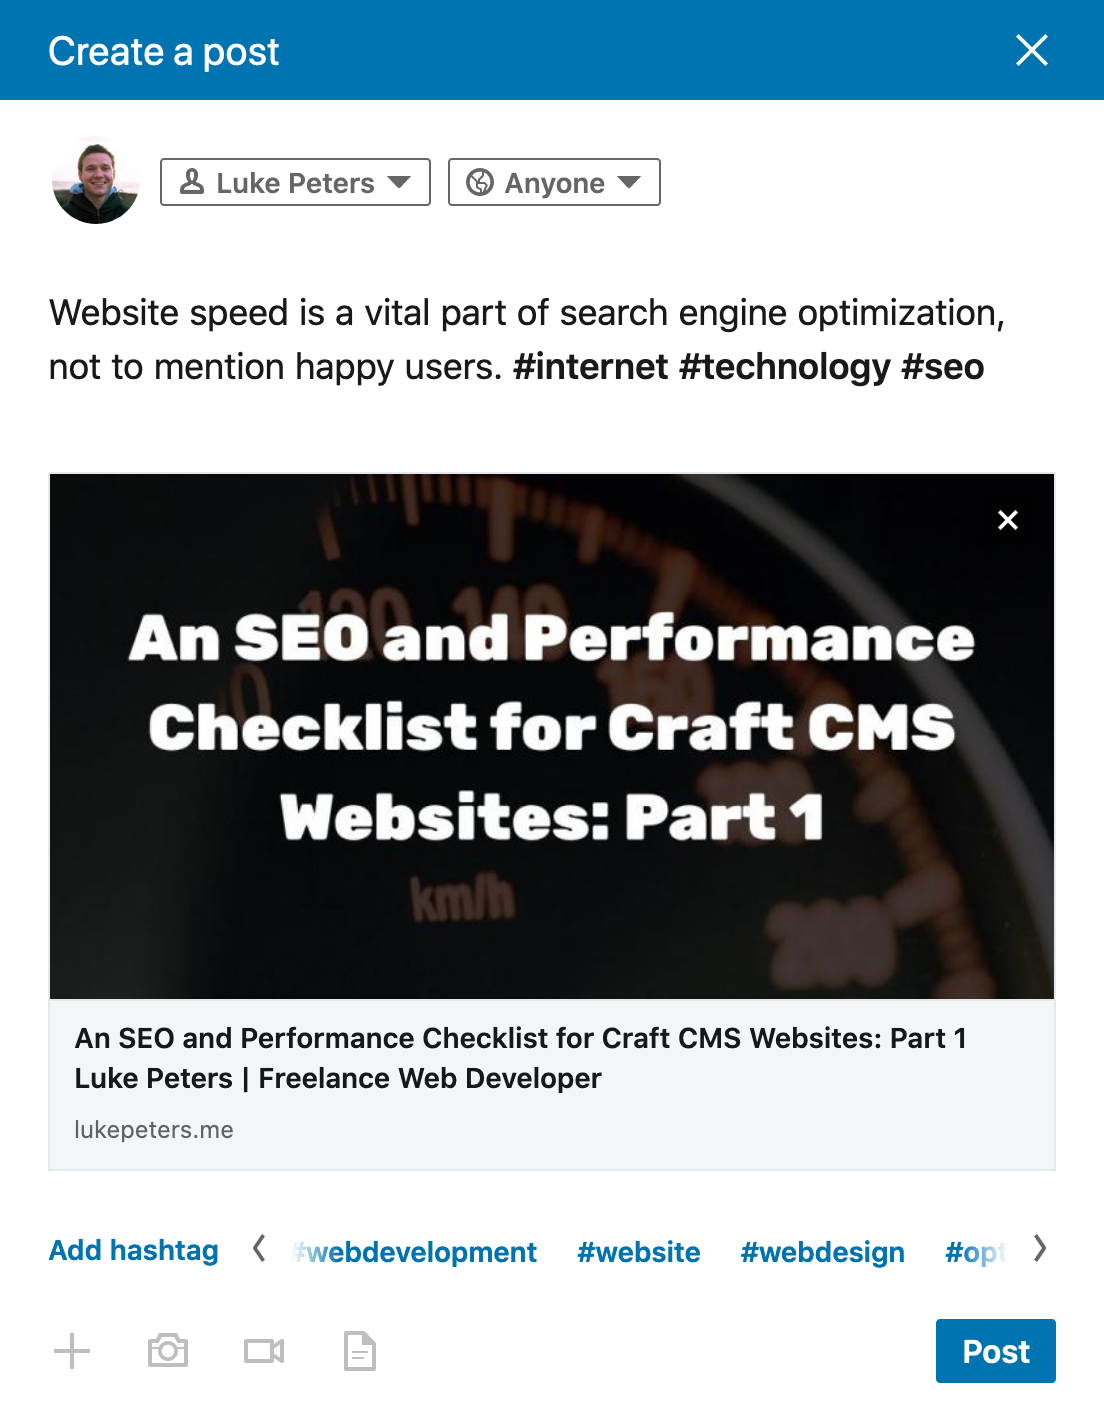
Open Graph tags let you control the appearance of your website's links on social media platforms like Facebook and LinkedIn.
<meta property="og:title" content="The page title goes here" />
<meta property="og:type" content="website" />
<meta property="og:url" content="https://website.com/page-url-here" />
<meta property="og:image" content="https://website.com/image.jpg" />
<meta property="og:description" content="A short snippet of the page content goes here." />
The image used in the og:image tag should have an aspect ratio of 1.91:1. The recommended dimensions are 1200px wide by 630px tall.
Here's what a page with Open Graph tags looks like when it's shared on LinkedIn:
3. Twitter meta tags
Twitter has it's own set of meta tags. They let you control the appearance of your website's links on Twitter.
Use them to create nice visual cards instead of boring text links. Big images and bold titles drive people to click through to your website.
<meta name="twitter:card" content="summary_large_image">
<meta name="twitter:site" content="https://website.com/page-url-here">
<meta name="twitter:title" content="The page title goes here">
<meta name="twitter:description" content="A short snippet of the page content goes here.">
<meta name="twitter:creator" content="@yourTwitterHandle">
<meta name="twitter:image" content="https://website.com/image.jpg">
You can choose between two card sizes on Twitter: Large or small.
Large Twitter card

This image should have an aspect ratio of 1.91:1. The recommended dimensions are 1200px wide by 630px tall. You can use the same image you used for the Open Graph image tag.
<meta name="twitter:card" content="summary_large_image">
<meta name="twitter:image" content="https://website.com/1200x630.jpg">
Small Twitter card

This image should have an aspect ratio of 1:1, which is a square. Make it 250px wide by 250px tall.
<meta name="twitter:card" content="summary">
<meta name="twitter:image" content="https://website.com/250x250.jpg">
4. Managing meta tags within Craft CMS
If you want the easy route...
Install one of the many SEO plugins available in the Craft CMS plugin store. They'll give you the ability to edit meta tags across all pages.
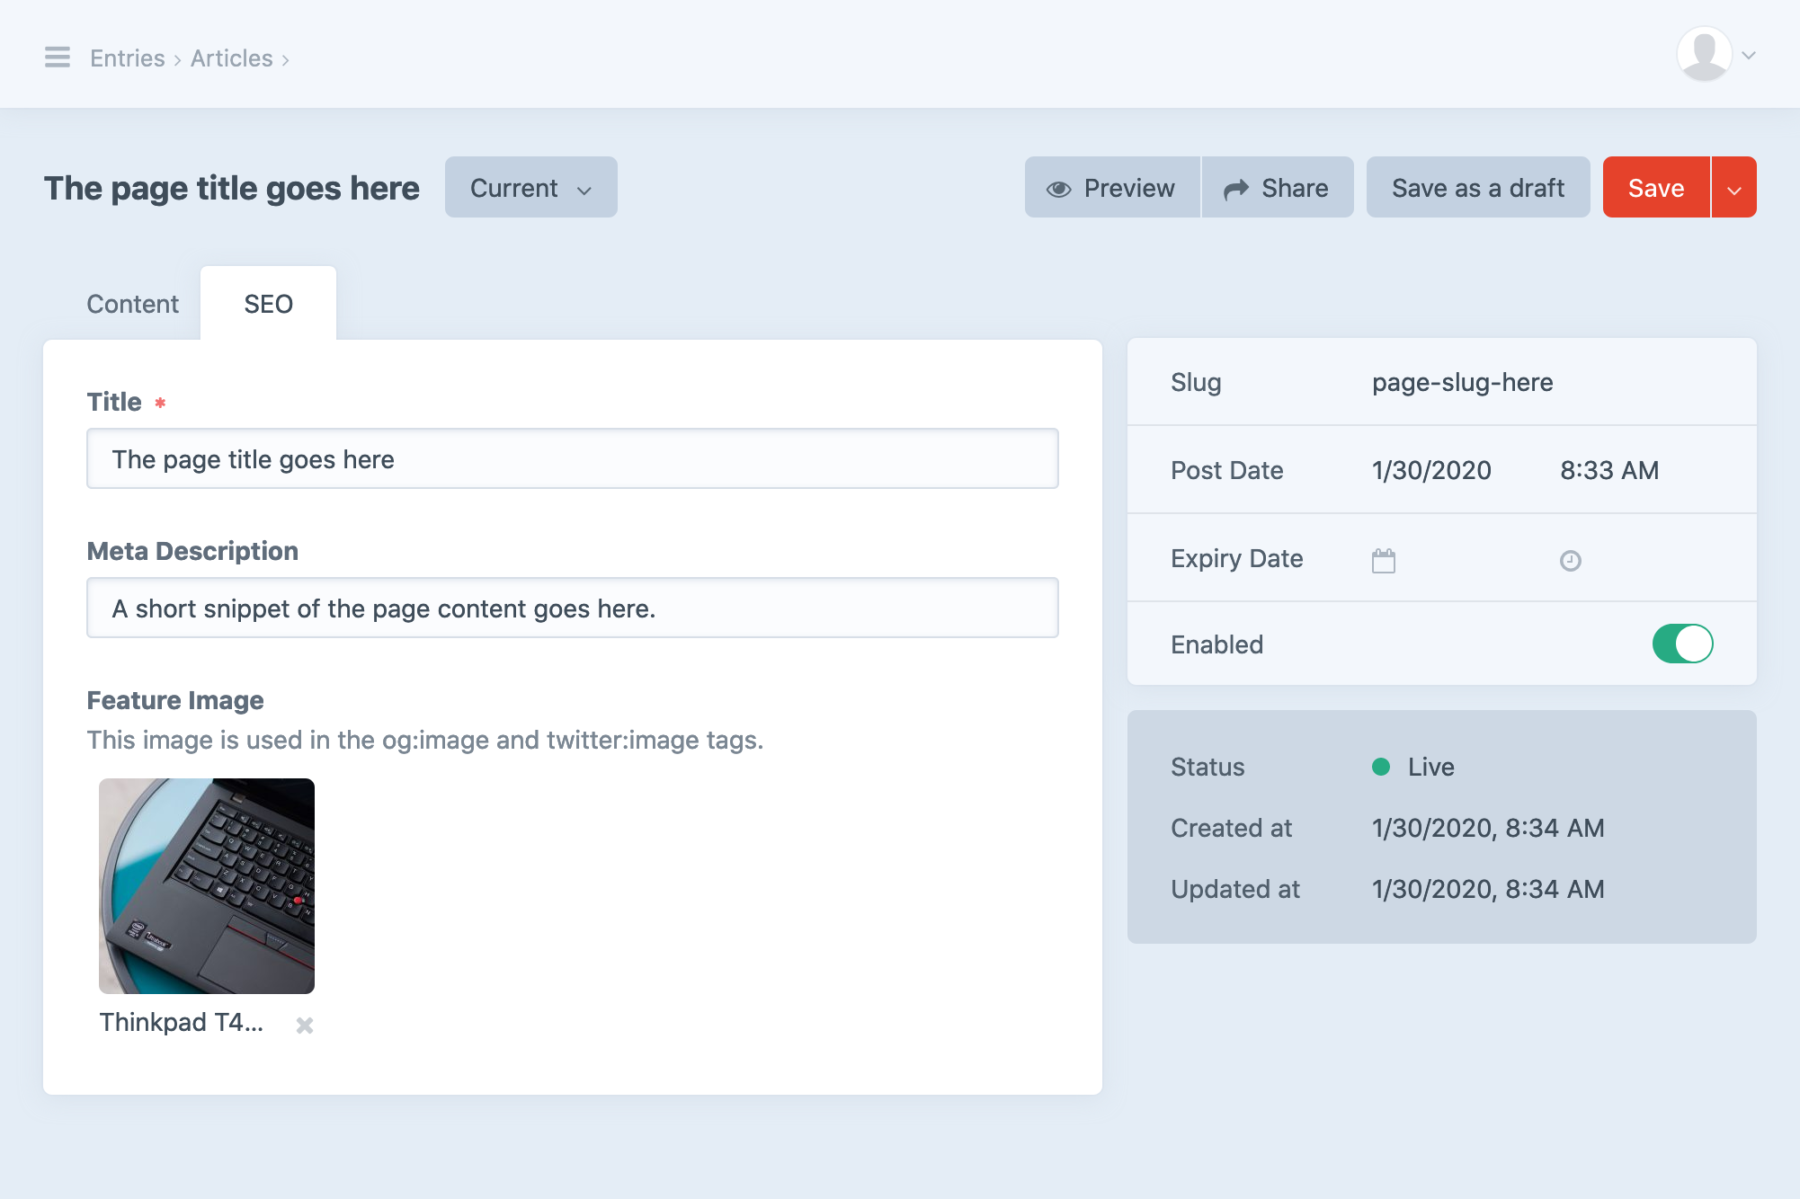
If you want the custom route (yeah!)
Create two new fields in Craft CMS called "Meta Description" and "Feature Image", for example. Then add them to your entries in a new "SEO" tab. This will give you control over each entry's meta description and social media image.
The other meta fields, like page title and URL, already exist for most entries, so we don't need to create new fields for them.
Finally, populate the meta tags in each entry's template. Make sure you use a Twig content block so the meta tags render inside the page's <head> tag.
{# _layout.html #}
<html>

  <head>
    {% block pageMetadata %}
      {# Entry metadata is inserted here #}
    {% endblock %}
  </head>

  <body>
    {% block content %}
        {# Entry template is inserted here #}
    {% endblock %}
  </body>

</html>
{# entry-template.html #}
{% extends "_layout" %}
{% block pageMetadata %}
{% set image = entry.featureImage.one() %}
<title>{{ entry.title }}</title>
<meta name="description" content="{{ entry.metaDescription }}" />
<meta property="og:title" content="{{ entry.title }}" />
<meta property="og:type" content="website" />
<meta property="og:url" content="{{ entry.url }}" />
<meta property="og:image" content="{{ image.getUrl('openGraphCrop') }}" />
<meta property="og:description" content="{{ entry.metaDescription }}" />
<meta name="twitter:card" content="summary_large_image">
<meta name="twitter:site" content="{{ entry.url }}">
<meta name="twitter:title" content="{{ entry.title }}">
<meta name="twitter:description" content="{{ entry.metaDescription }}">
<meta name="twitter:creator" content="@yourTwitterHandle">
<meta name="twitter:image" content="{{ image.getUrl('twitterCrop') }}">
{% endblock %}
{% block content %}
{# Your entry template goes here #}
{% endblock %}5. Create an XML sitemap
Search engines use sitemaps to discover and index your website's pages. Without a sitemap, they have to crawl through your website page by page. And if some pages aren't linked to from anywhere, it can skip them altogether.
Option 1: Use a Craft CMS plugin
Check out the Craft CMS plugin store for several sitemap generation options.
Option 2: Generate your own sitemap
You can create your own sitemap in Craft CMS by looping through all entries and outputting their URLs in an XML file.
Check out my article on this approach here: Generating an XML Sitemap in Craft CMS
6. Add a robots.txt file
A robots.txt file can be used to tell search engines to ignore specific areas of your website. This will prevent these areas from being indexed and showing up in search results pages. You can also use it to tell web crawlers where your sitemap lives.
Create a robots.txt file in your /templates directory and give it the following content as a starting point:
Sitemap: {{ siteUrl }}sitemap.xml

User-agent: *
Disallow: /cpresources/
Disallow: /admin/

# Examples:
# Disallow: /pdfs/
# Disallow: /thank-you-page/
# Disallow: /unlisted-page-not-for-search-engines/
There's your foundation
This is my high-level optimization checklist for every website project. It gets me to the 90% mark. And that's where the game of fine-tuning and smaller incremental improvements begins.
There's so much more you can do to improve your website's performance, accessibility, and SEO. But this article series (see Part 1) should give you a great foundation to build on. Good luck!
Ready to discuss your project?
Send me a message and I'll get back to you within one business day.